From Blueprint to Breeze: A Homeowner’s Guide to Choosing and Installing New Windows
Planning begins with defining the project’s purpose, since that decision shapes every downstream choice. Are you seeking stronger storm protection, better energy performance, quieter interiors, or a refreshed façade? Clarify priorities, measure existing openings, and take photos of tricky conditions like out-of-square frames or stucco returns. Establish a target timeline that buffers weather delays, HOA reviews, and permitting steps, so expectations align before any materials are ordered.
Meanwhile, scope materials with an eye toward climate and building exposure. In hurricane zones, laminated, impact-rated glass and reinforced frames make sense, while inland homes might emphasize thermal breaks and low-e coatings. Vinyl, aluminum, wood, and composite frames each trade off aesthetics, maintenance, and durability. Discuss the glazing package early; the right spacer systems, interlayers, and coatings can refine comfort and reduce long-term energy costs without compromising style.
Beyond that, validate the installation method appropriate for your walls and finishes. Full-frame replacement allows inspection of sheathing and flashing, while insert units may preserve interior trim and reduce disruption. Assess sill conditions, slope, and water management paths. A quality Window Installation and Replacement plan details removal approach, temporary protection, new flashing sequence, and fastener patterns consistent with local wind-load requirements.
In practice, permitting and code compliance anchor the schedule. Expect submittals that include product approvals, wind-zone ratings, and shop drawings for complex assemblies. Inspectors will verify fastening schedules, anchorage, and egress where required. For specialty projects, Architectural Window Installation may require engineered details, mullion reinforcement, and careful integration with cladding systems to maintain drainage and accommodate thermal movement.
Often, homeowners forget the value of staging the jobsite. Clear furniture, take down window treatments, and secure pets. Protect floors and landscaping pathways to streamline debris removal. Installers should sequence rooms to limit noise and dust overlaps, and maintain clean work zones. Good staging also helps crew members verify rough openings, adjust shims, and set frames plumb and square before sealants make everything permanent.
Then, turn to weatherproofing details that decide long-term performance. Verify back dams at sills, pan flashing or preformed corners, and continuous tape or liquid-applied flashing at jambs and heads. Sealant joints need correct width-to-depth ratios and compatible primers. Proper weep paths must remain unobstructed. Calibrate foam application to avoid frame distortion, and document each opening with photos for your records and any warranty submissions.
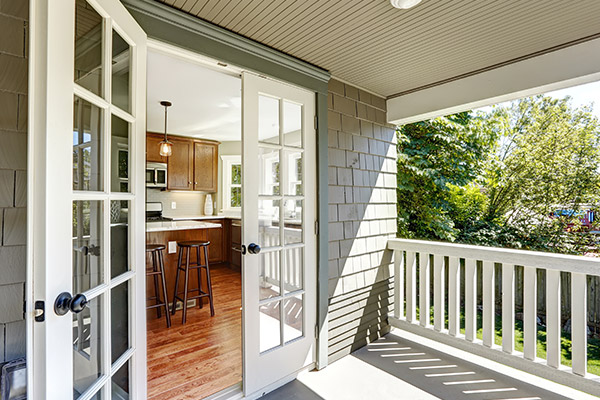
However, not every opening is identical, so crews must adapt without drifting from standards. Masonry substrates call for different anchors than wood framing. Stucco returns, brickmolds, and interior reveals influence trim strategies. For doors, threshold integration and swing clearances require extra attention. Impact Door Installation and Sliding Glass Doors installation bring larger panels, so verify substrate flatness and handle lift-and-slide hardware with precise adjustments.
Next, evaluate lifecycle costs alongside upfront price. Durable finishes, corrosion-resistant fasteners, and high-quality gaskets reduce future service calls. Energy improvements can compound savings over time, especially in sunny, coastal climates. Maintenance plans—washing tracks, inspecting weeps, and renewing sealants—extend performance. For entries, Fiberglass Entry Door installation may balance dent resistance with design flexibility, while French Doors installation supports ventilation and daylight without sacrificing security when specified correctly.
After installation, punch-list methodically. Inspect reveals for uniformity, operate sashes and locks, and validate alignment under both latched and unlatched conditions. Test drainage with a light water spray, avoiding high pressure that can force infiltration. Confirm that screens, hardware finishes, and interior trim meet expectations. Request operation and care guides, product labels for warranty tracking, and a schedule for the final inspection and closeout.
Finally, think ahead to future alterations so new work integrates smoothly. If you might add shading devices or alarms, leave accessible fastener paths and document anchor locations. When planning Hurricane Impact Window Installation or Double Entry Doors installation later, maintain consistent sightlines and finishes across elevations. A measured, documented approach today reduces rework tomorrow, protects curb appeal, and sustains performance across seasons and ownership changes.